Adding a new light fixture is an easy way to spruce up your space. Installing wall sconces elevates your space’s style while also providing more lighting. Whether you’re adding one wall sconce or multiple small lights for your vanity, wall sconces make a huge visual impact on your space.
Installing a light fixture can seem daunting at first, but once you learn how to add a wall sconce, you’ll be surprised to see how easy it is to do it yourself. With our wall sconce installation tips and tricks, you’ll have the well-lit bathroom, entry way, or bedside area of your dreams in no time.
How to install a wall sconce in your bathroom
Before you start, have your tools gathered, turn off your old fixture at the wall, and turn power off at the circuit breaker. Here are some general steps for how to install a hardwired wall sconce in your bathroom, but always refer to your specific model’s installation manual, which can often be found online.
- Remove your old fixture, including the old mounting bracket. Carefully remove your new sconce from its packaging and locate the mounting bracket. Gently thread the wires from the junction box through the center hole of your mounting bracket. Use the included mounting screws to secure your mounting bracket. With the mounting bracket in place, use a screwdriver to partially install you’re the grounding screw into the bracket.
- Attach your sconce’s wires to the power supply from the junction box using a wire connector:
- Connect black to black (live),
- White to white (grounded),
- And grounding to ground (green or copper)
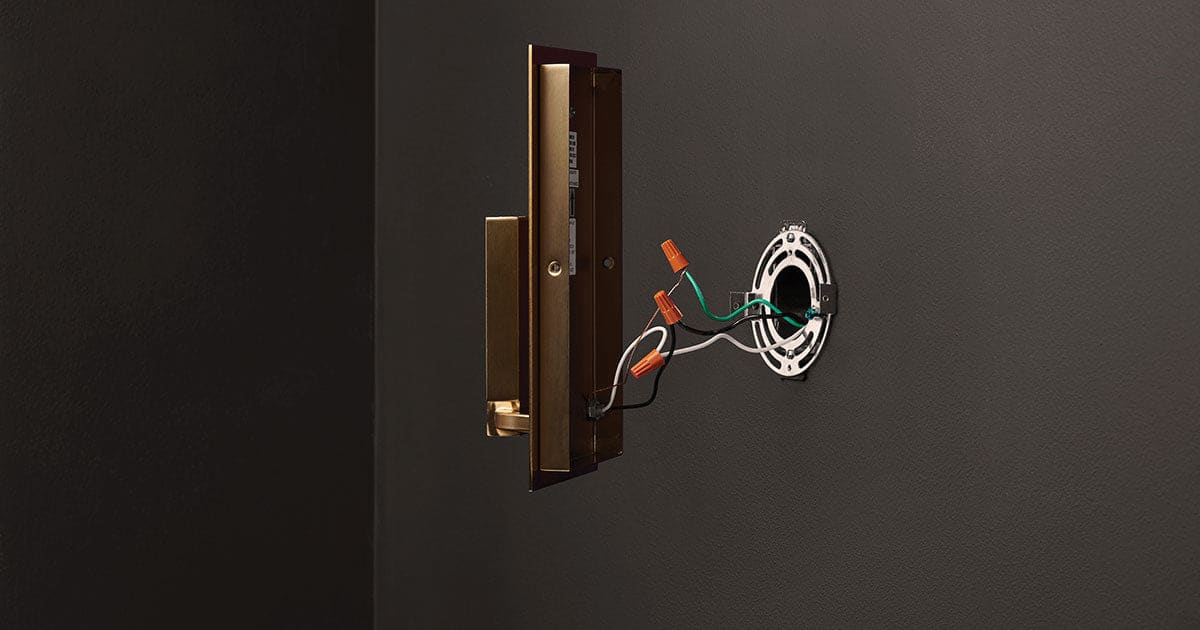
Twist the ends of the wire pairs together, and then twist the wire connector. Tuck the wires into the mounting bracket. Finally, loop the sconce’s ground wire around the grounding screw that was partially installed into the mounting bracket. Once that wire is looped, tighten the screw.
If you are uncomfortable with wiring your wall sconce, consult a certified, professional electrician.
If there is no ground wire (green or copper) coming from the junction box, contact a certified, professional electrician.
3. Now for the exciting part: getting your sconce on the wall. With your fixture’s backplate in hand, place it over the mounting screws so that their threads protrude through the backplate.
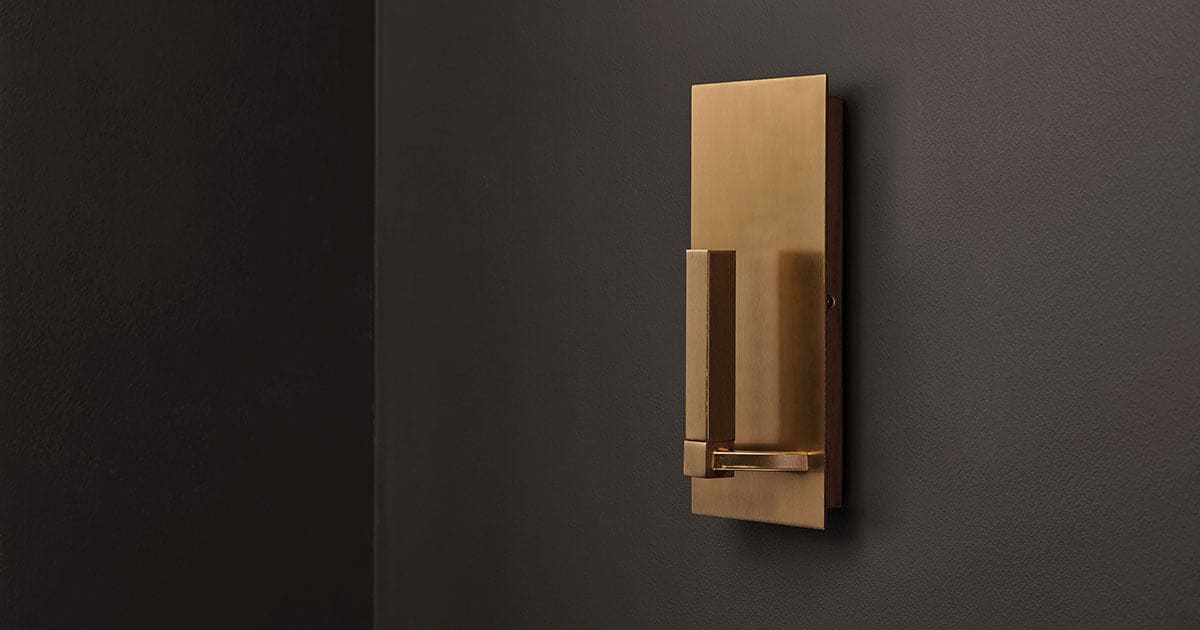
Place the backplate over the mounting screws so their threads protrude. Then twist the cap nuts onto the mounting screws until the backplate fits snug against the wall.
4. Now install a light bulb and any other decorative piece in accordance with your sconce’s specifications. Depending on your sconce, you either twist your light shade in place or secure it into the socket with screws. Check your fixture’s manual for exact instructions.
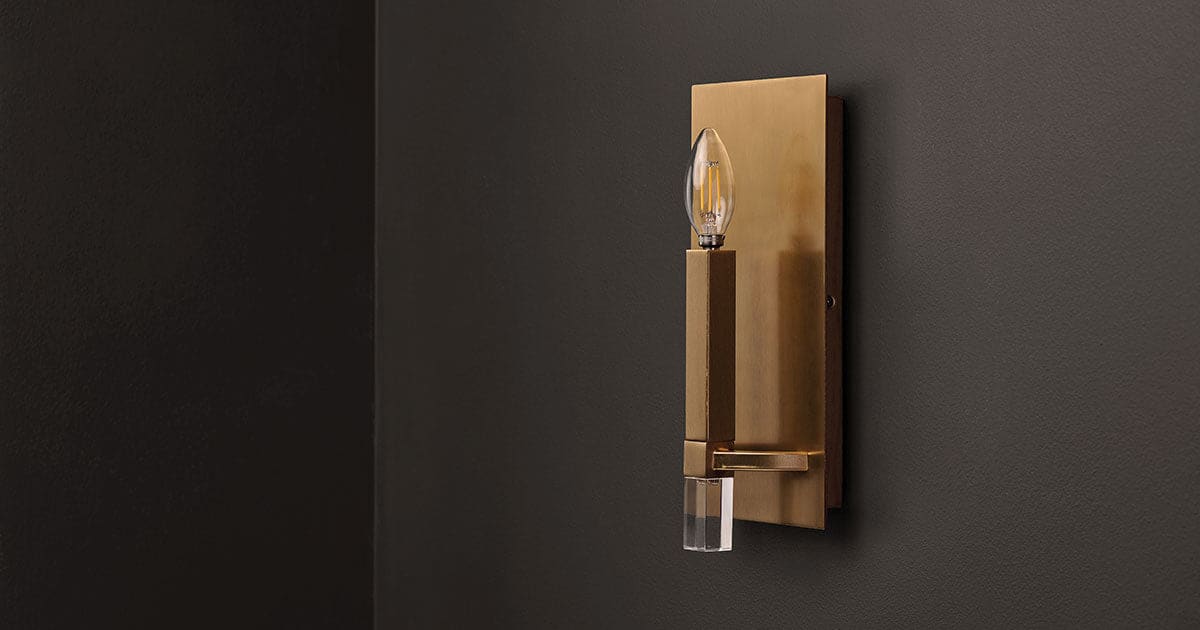
Once your installation is complete, you can turn your power back on at the wall and breaker box.
And Wallah!
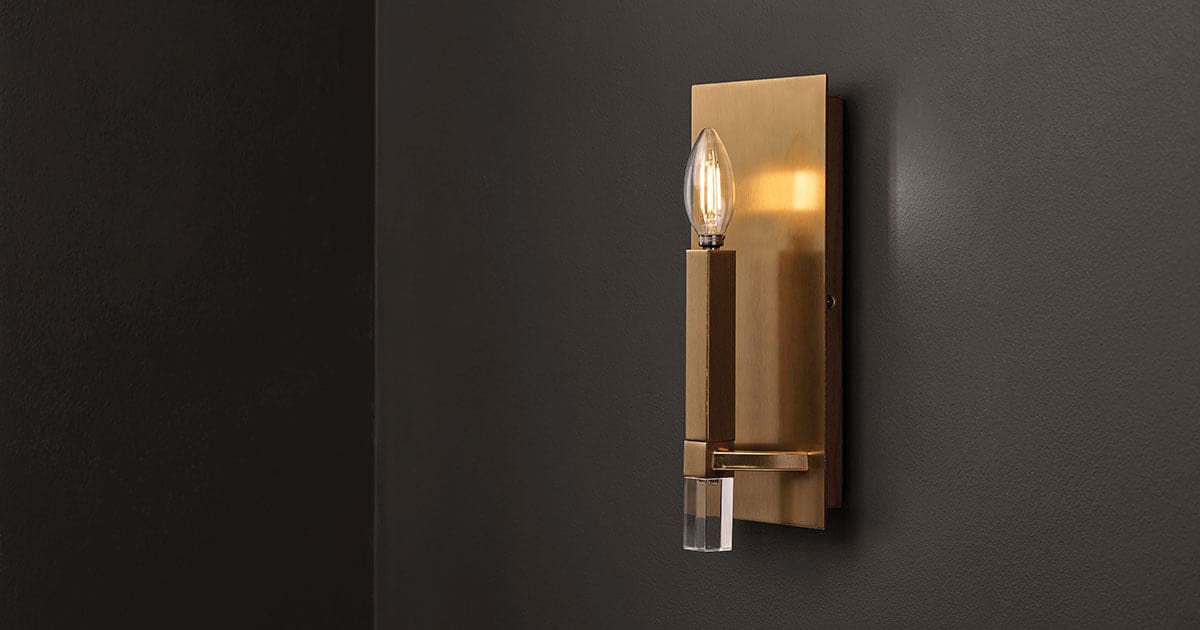
NOTE: If there is no ground wire (green or copper) coming from the junction box, contact a qualified electrician.
Wall sconces for bathroom lighting
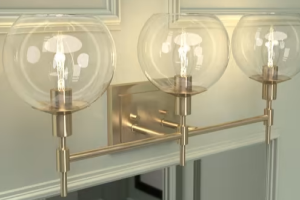
With installation knowledge under your belt, it is time to get creative. You can get playful and think outside of the box when it comes to wall sconces. Consider installing the wall sconce upside down for a unique highlight. In addition, you can install bathroom wall sconces in pairs. If you have one sink in your bathroom, adding a sconce on both sides of the mirror instantly elevates the room with a unique look. In a bathroom with dual sink vanities, the lighting possibilities are endless. For example, if you’re looking for a subtle, modern touch, utilize three one-light wall sconces around two mirrors to frame your space.
